Imagine creating your own marketplace. Vendors list their services. Customers can book appointments, reserve rentals, or sign up for events. All this happens through one easy, seamless system. Using a WordPress appointment scheduling plugin like WC Vendors WooCommerce Bookings makes building this kind of multi-vendor marketplace easy. It’s simpler than you might think!
Setting up a marketplace for service bookings means giving vendors the freedom to manage their own schedules, prices, and bookings. Meanwhile, customers enjoy a smooth experience when finding and booking services.
So, are you ready to see how it’s done? Let’s dive into the steps and explore the best plugins to get your marketplace up and running smoothly!
Why Build A Marketplace For Service Bookings?
Service booking marketplaces are a hit with customers. After all, they offer a wide range of services in one place. Think haircuts, hotel reservations, or consultations—all easily bookable online. Having a central booking system connects customers with vendors in a quick and reliable way.
For vendors, joining a marketplace means new clients and more visibility. They can reach customers already interested in booking services online. In this guide, we’ll show you how to set up a service booking system with WordPress using the WC Vendors WooCommerce Bookings plugin.
Step 1: Choose The Best WordPress Appointment Scheduling Plugin For Marketplaces
What is the best appointment plugin for marketplaces? To create a reliable booking system on WordPress, picking the right appointment scheduling plugin is key. The right plugin makes all the difference.
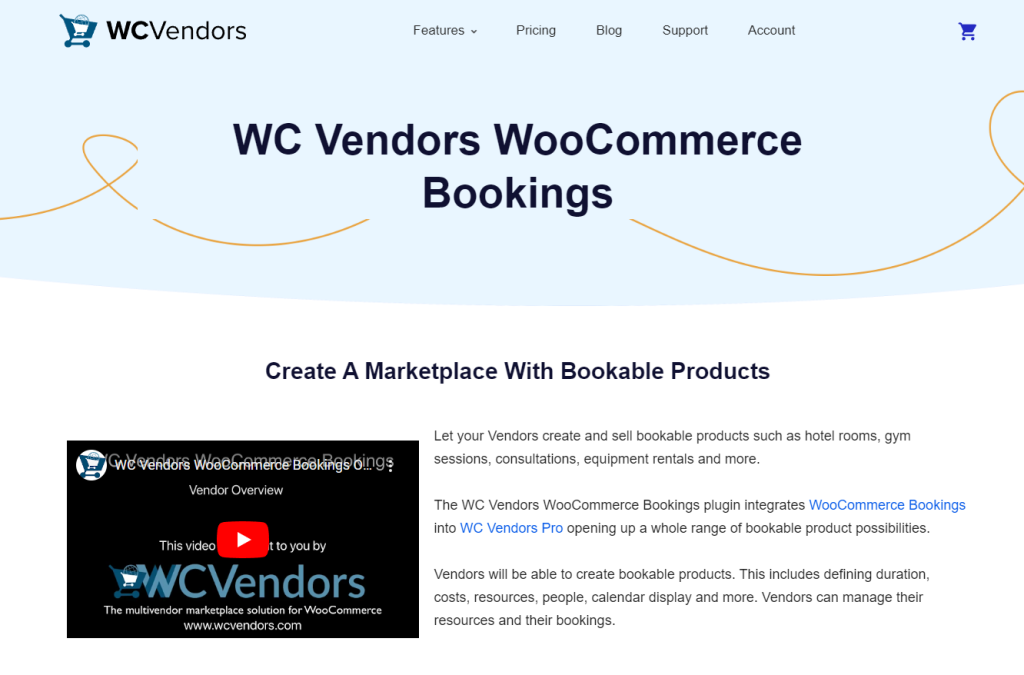
The WC Vendors WooCommerce Bookings Plugin is your top choice for multi-vendor marketplaces. This plugin is crafted specifically for marketplaces, making it easy for each vendor to manage their own bookings.
With WC Vendors WooCommerce Bookings, vendors get all the essential tools they need. Vendors can set up their own calendars and manage their availability. They can also update booking details easily. Everything is done from one simple, user-friendly dashboard. The plugin works smoothly with WooCommerce and WC Vendors, making sure all parts fit together perfectly.
Choosing the right booking plugin can make or break your marketplace experience. WC Vendors WooCommerce Bookings sets your marketplace up for success. It gives vendors full control over their bookings!
Step 2: Set Up Your Marketplace With WordPress And WooCommerce
Before diving into the booking features, you’ll need to create the foundation for your marketplace:

- Install WordPress and WooCommerce: Start by setting up WordPress as your main platform. Then, install WooCommerce to enable marketplace functionality.
- Install WC Vendors: WC Vendors transforms WooCommerce into a fully functional multi-vendor system. It lets vendors register and list their services on your site.
- Choose a Theme: Pick a responsive, booking-friendly theme for the best user experience. Look for themes that showcase services and support appointment scheduling plugins.
Step 3: Add And Configure WC Vendors WooCommerce Bookings Plugin
Once you have your basic marketplace setup, it’s time to add the WC Vendors WooCommerce Bookings plugin:
- Install and Activate: Go to your WordPress dashboard, navigate to Plugins > Add New, and search for the WC Vendors WooCommerce Bookings plugin. Then, install and activate it.
- Configure Booking Settings: Head to the plugin settings and configure booking options. Here, you can set default options like booking duration, availability, and cost structures.
- Calendar Setup for Vendors: Each vendor can configure their own booking calendar to suit their business needs, such as daily appointments, rentals, or event reservations. They’ll also have access to a calendar page for managing their bookings.
For more detailed instructions,
check out this guide:
How To Set Up WooCommerce Bookings
And Appointments: The Ultimate Guide.
It has everything you need to get set up!
By following these steps, vendors will have full control over their bookings. They can easily manage their schedules and appointments right from their dashboard. It’s a game-changer for any marketplace!
Step 4: Create Service Forms For Vendor Onboarding
With your marketplace set up and an appointment scheduling plugin in place, it’s time to make onboarding simple for vendors. Let’s walk through the steps to get vendors registered and ready to list their services.
- Registration form: Use the WC Vendors registration form to bring new vendors onboard. This form lets them sign up and share important details about their services.
- Enable the Vendor Registration Form in the settings. Basically, this allows vendors to join and add service information.
- Highlight the form on your site with a Vendor Registration Box so it’s easy to find.
- Customize the form fields to capture essential booking details like service duration, pricing, and availability.
- Review vendor applications and approve or reject them based on your marketplace’s criteria.
- Once approved, vendors can access their dashboard to set up booking options and manage their services.
For full details and step-by-step instructions,
check out this guide:
Streamlining the Vendor Application Process:
Your Ultimate Guide.
It’s packed with everything you need!
- Service listing page: Create a for vendors to list and update their services. Here, they can add booking options, descriptions, and images.
- Booking management system: Each vendor needs access to a management system to view and update bookings. The WC Vendors plugin offers a simple booking calendar and interface. This makes it easy for vendors to track appointments.
Step 5: Test The Marketplace Booking System
Before going live, it’s crucial to make sure your booking system runs smoothly. Testing helps you see if everything works as expected. It also gives vendors a chance to practice navigating the system and handling bookings. This way, you’ll be ready if any issues come up, and vendors will feel confident using the platform.
Here’s how to test:
- Run a Test Booking: Create a sample vendor account, list a service, and try booking it from a customer perspective. Ensure that the booking form and calendar appear as expected and that the checkout process is smooth.
- Check Email Notifications: Make sure both customers and vendors receive confirmation emails after a booking is made. Adjust notification settings if necessary to keep everyone in the loop.
- Review the User Experience: View your marketplace from both a vendor’s and a customer’s perspective. Check that the navigation, booking forms, and calendar work smoothly for everyone.
Optimizing Your Marketplace Experience
With your WordPress appointment scheduling plugin set up, you’re well on your way to launching a fully functional marketplace for service bookings.
Now, it’s time to think about ways to attract more vendors and customers. Here are a few tips to make your marketplace even more appealing:
Adding a FAQ Page
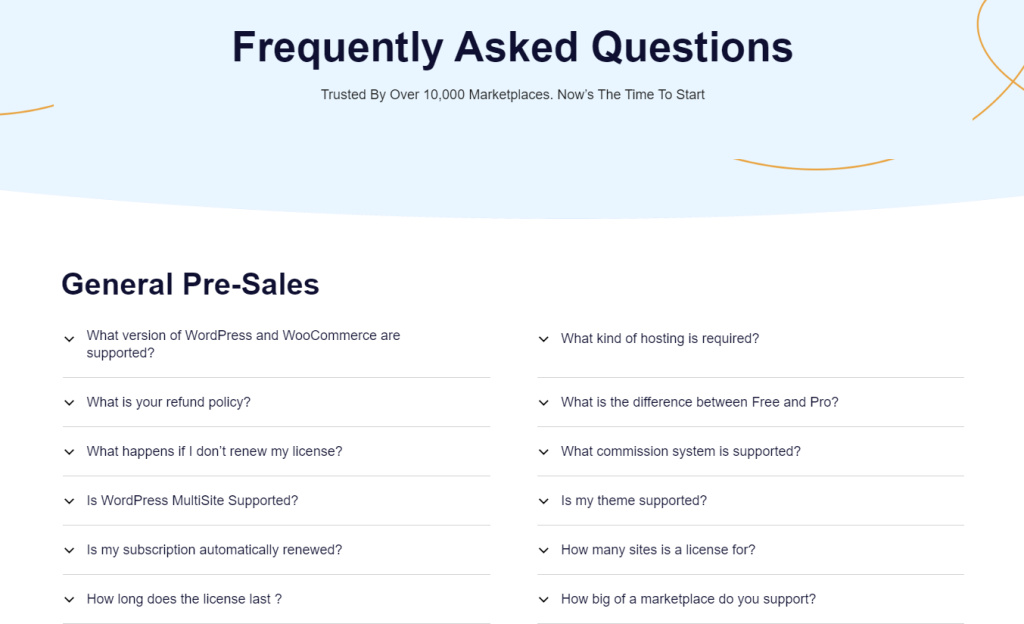
Create a FAQ page to address common questions about bookings, cancellations, and payments.
For example, you might answer questions like, “What happens if I need to reschedule?” or “How do I cancel my booking?” This page helps build trust with new users. It also cuts down on support requests. This makes the marketplace experience easier for everyone!
Integrating Google Calendar Sync
Many vendors, like fitness trainers, consultants, or therapists, use Google Calendar to manage their schedules. It’s especially helpful for businesses with limited availability or those using multiple booking platforms.
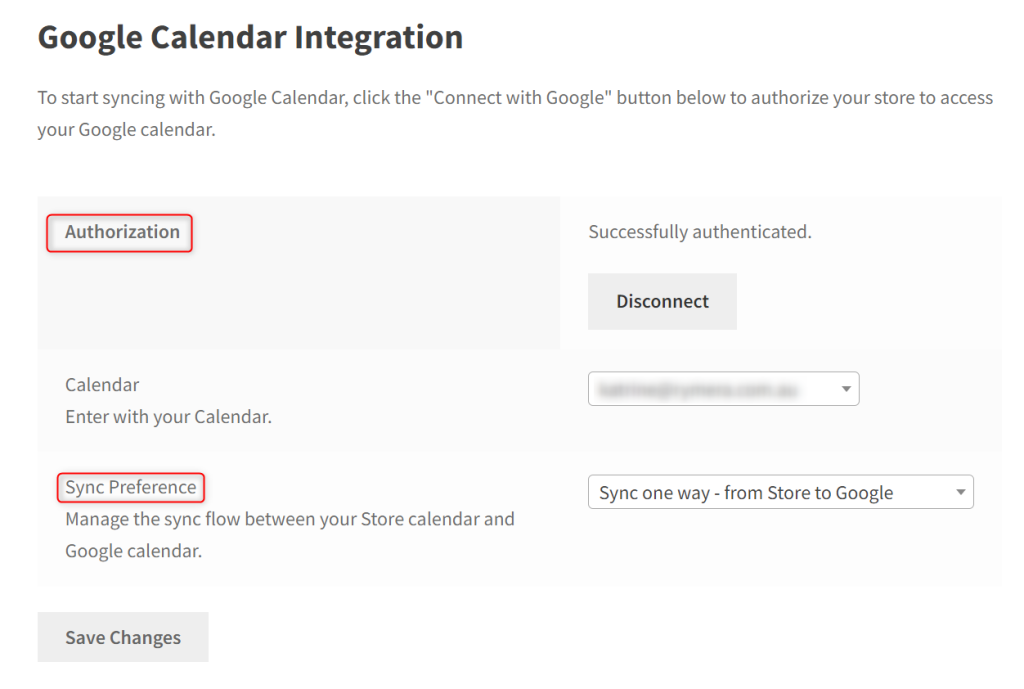
You can teach vendors how to sync their Google Calendar with the WC Vendors booking system. Managing multiple bookings can be a challenge, but syncing with Google Calendar makes it easier to stay organized. This way, all appointment bookings appear in one place.
Here’s how vendors can set up Google Calendar integration:
- Go to Bookings > Calendar from the vendor dashboard.
- Click on the Google Calendar option.
- Link your Google account by signing in and granting permissions.
- Choose to sync bookings one-way (store to Google) or both ways (Google and store).
Once set up, all bookings will sync automatically with Google Calendar. This ensures vendors stay on top of their appointments and never miss a booking!
Promoting the Benefits of Multi-Vendor Services
On your marketplace homepage or in blog posts, show customers the benefits of a central booking platform. Highlight how easy it is to find and book multiple services in one place. It’s perfect for those planning a full day of activities.
For example, a customer might book a photographer, makeup artist, and hair stylist all on your platform for a special event. Or, someone planning a weekend getaway could book accommodations, a tour guide, and dining experiences in one place.
Sharing these examples can attract more customers and vendors. It highlights the unique value your marketplace offers!
Conclusion
Creating a marketplace for service bookings on WordPress is possible with the right tools. Using the WC Vendors WooCommerce Bookings plugin as your main WordPress appointment scheduling plugin gives vendors essential features to manage bookings easily. This setup allows vendors flexibility and control. It also ensures customers can find and book services in a well-organized, user-friendly space.
To create a smooth, successful marketplace, here’s what you need to remember:
- The Value of a Marketplace for Service Bookings
- Choose the Right Appointment Scheduling Plugin
- Set Up WordPress and WooCommerce
- Add and Configure WC Vendors WooCommerce Bookings Plugin
- Create Service Forms for Onboarding
- Test the Booking System
- Enhance Your Marketplace Experience
By focusing on these steps, you’ll create a solid, flexible marketplace that meets the needs of vendors and customers alike.
With this guide, you have everything you need to create a powerful multi-vendor marketplace for service bookings. Here’s to your marketplace journey—happy building!
