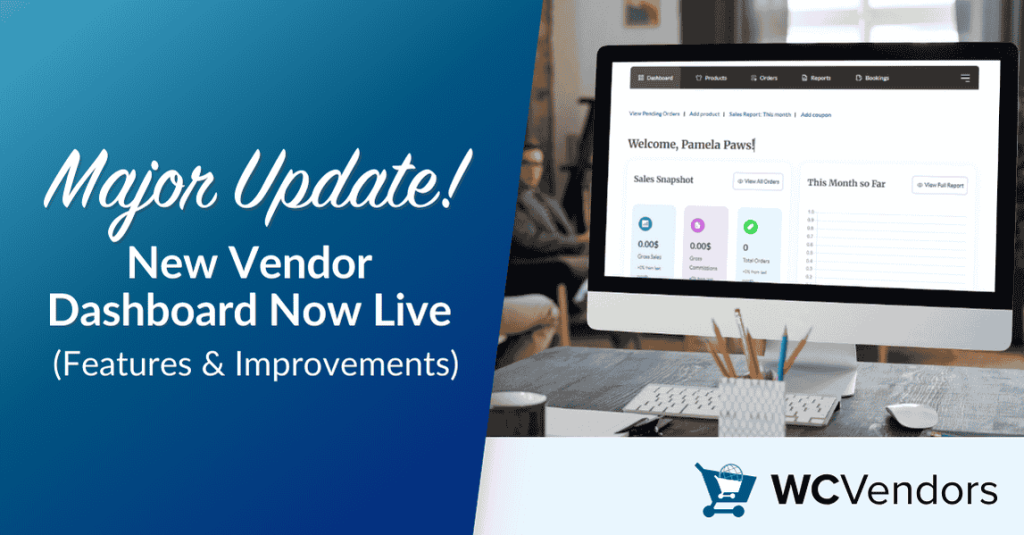
WC Vendors’ new vendor dashboard is officially here!
Designed to elevate your experience, this update delivers a cleaner, more intuitive workspace for admins and vendors. Whether you’re managing stores or selling products, the changes save time and reduce confusion.
The new vendor dashboard focuses on practicality. Menus are reorganized, tooltips clarify complex settings, and behind-the-scenes fixes address common technical issues.
In this article, we’ll explain what’s new, why it matters, and how to use the upgrades. Let’s get started!
The All-New Vendor Dashboard
Your workspace just got an upgrade! The new vendor dashboard prioritizes simplicity, placing key tools front and center. Navigation tabs are easier to find, and settings stay organized.
1. Ratings card visibility

When ratings are disabled, the Ratings Card no longer appears on the vendor dashboard. Admins can now fully control which features vendors see, reducing clutter.
For Admins:
- Go to WC Vendors > Settings > Capabilities > General.
- Check “Disable Ratings system completely”.
- Vendors will immediately see the Ratings Card removed from their dashboard.
2. Text area limits
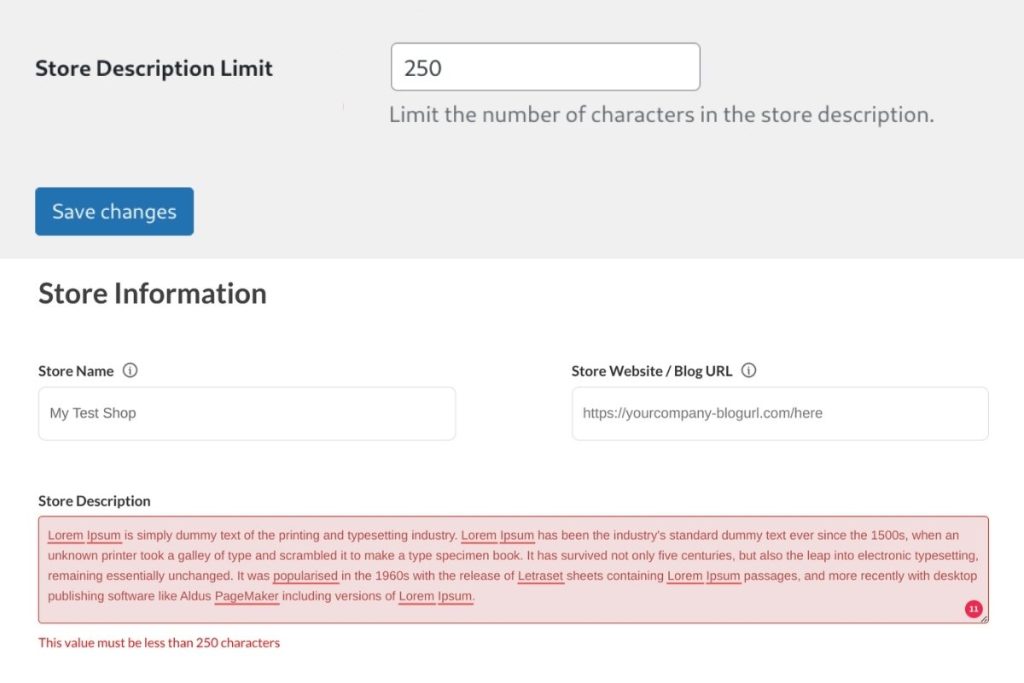
Multi-vendor marketplace admins can now set maximum character limits for text fields like vendor store descriptions. This prevents overly long text or SEO spam, keeping your marketplace clean and professional.
For Admins:
- Go to WC Vendors > Settings > Forms > Settings Form.
- Set a max character limit for store descriptions (e.g., 250 characters).
- Vendors will see a note like “The value must be less than 250 characters” when editing their descriptions.
For Vendors:
- A character counter now appears below text fields. If you exceed the limit, the system blocks submission until the text is shortened.
3. Reports default to today’s date
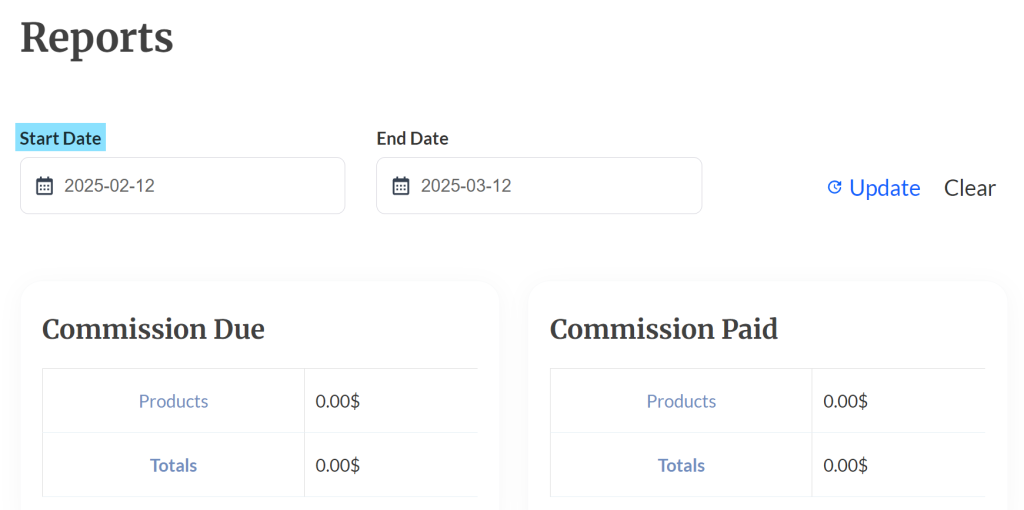
The vendor dashboard automatically sets report end dates to the current day. Vendors no longer need to adjust dates manually.
Smoother Operations & Reliability
We’ve fine-tuned the new vendor dashboard to handle behind-the-scenes tasks more efficiently. These improvements mean fewer interruptions and more time for what matters: growing your marketplace.
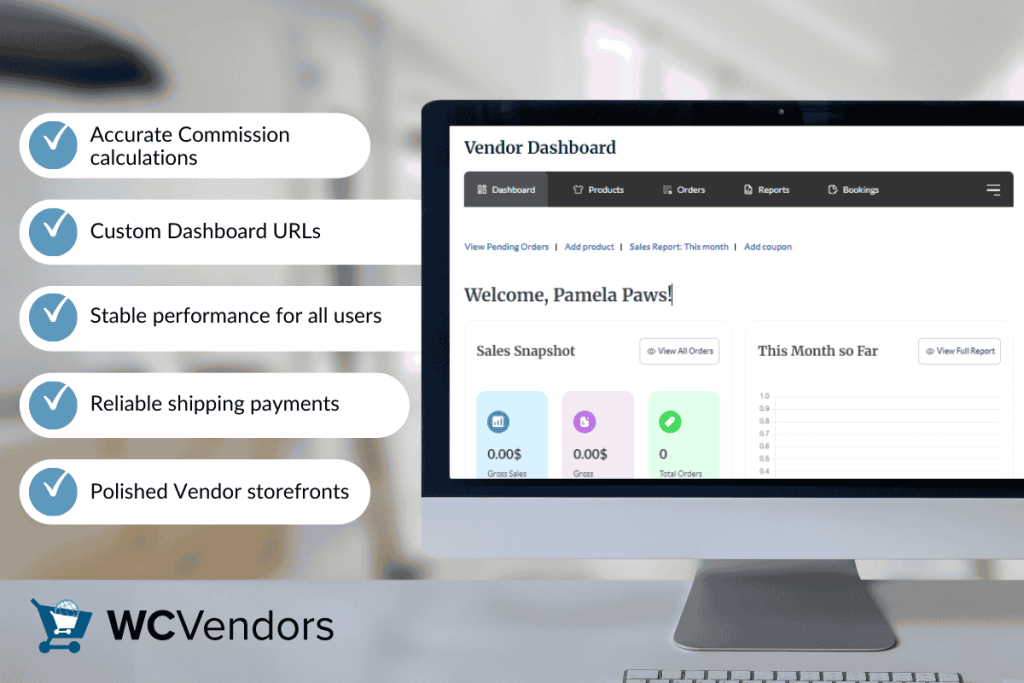
1. Accurate Commission calculations
Sales commissions now apply correctly to vendor products every time. This means admins no longer need to double-check payouts, and vendors can trust their earnings reflect actual sales.
Fair and transparent payments keep vendors motivated, and admins save time by avoiding manual fixes.
2. Custom Dashboard URLs
You can now customize your vendor dashboard URL (e.g., /seller-dashboard) to match your brand. The system handles these changes smoothly, so vendors never see broken links.
A branded dashboard looks professional, and vendors always find their workspace without confusion.
3. Stable performance for all users
The dashboard now handles admin actions more gracefully. For example, leaving disk space limits unset no longer causes crashes, and overriding vendor store descriptions keeps layouts intact.
Admins work efficiently without unexpected interruptions, and vendors maintain polished storefronts.
4. Reliable shipping payments
When admins assign shipping rules, vendors automatically receive their shipping payments. No more missed payouts or manual adjustments.
As a result, vendors get paid accurately for shipping, and admins avoid time-consuming reconciliations.
5. Polished Vendor storefronts
Social icons now display correctly on vendor profiles, and feedback forms can be translated fully. This means vendors showcase their brands professionally, and global sellers use forms in their preferred language.
Ultimately, a clean, multilingual marketplace attracts more buyers and sellers.
How To Update WC Vendors
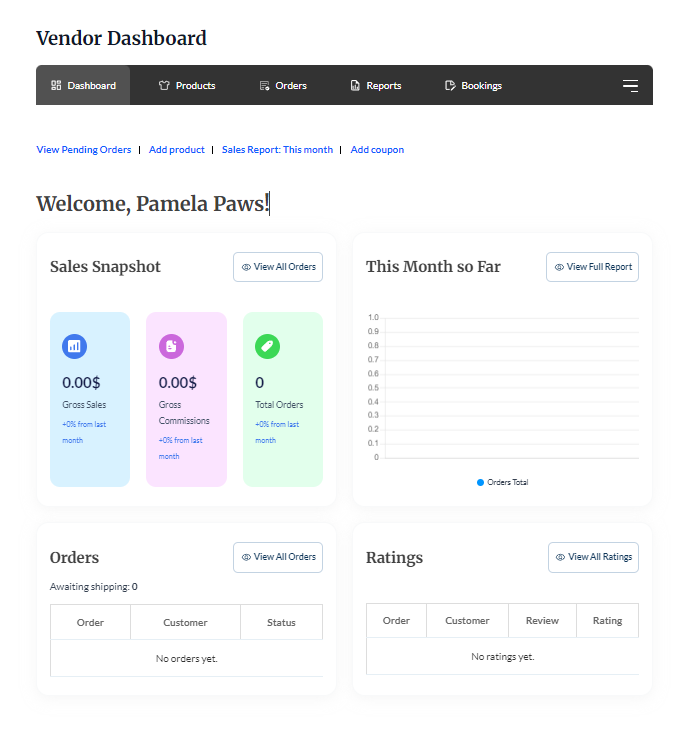
Updating WC Vendors is straightforward and takes just a few minutes. Follow these detailed steps to access the new vendor dashboard and enjoy its improvements:
- Log in to your WordPress Dashboard
- Access your admin panel using your credentials.
- Navigate to Installed Plugins
- In the dashboard, click on Plugins and then select Installed Plugins.
- Locate the WC Vendors Plugin
- Scroll through the list until you find WC Vendors.
- Update the WC Vendors Plugin
- Click the Update Now button. The system will automatically process the update.
- No Update Button?
- If the update button isn’t visible, it’s likely that auto-updates are enabled for your plugins.
- In this case, review your site’s update log or plugin settings to ensure that WC Vendors is up to date.
- Refresh and verify
- Once the update is complete, refresh your site to see the new dashboard in action.
Updating ensures that you benefit from the new vendor dashboard immediately, along with improved security, stability, and functionality for your marketplace.
Conclusion
The new vendor dashboard is the result of months of collaboration with multi-vendor marketplace owners like you. Designed to simplify selling for vendors and streamline admin tasks, this update brings meaningful changes to your marketplace.
To get the most from the new vendor dashboard, here’s what you need to explore:
Update now to experience the upgrades firsthand. Have feedback? We’d love to hear it—your insights drive what we build next.
