WC Vendors is a WordPress plugin that enables users to create and manage a multi-vendor marketplace on their WooCommerce-powered online store. It allows multiple vendors to register, sell products, and manage their own stores within a single marketplace platform. With WC Vendors, marketplace owners can facilitate product listings, set commission rates, and manage vendor accounts, while vendors can handle their inventory, product descriptions, pricing, and shipping options.
Here are some key features of WC Vendors:
• Multi-Vendor Support: Allows vendors to have their own individual stores, creating a marketplace with multiple sellers.
• Commission Management: Marketplace owners can set commission rates, which are automatically calculated and applied to vendor sales.
• Vendor Dashboard: Vendors can manage their own products, orders, and store settings through a dedicated dashboard.
• Product Management: Vendors can add, edit, and delete their products, with options for product variations, categories, and tags.
• Payment Integration: Supports various payment gateways like PayPal and Stripe, with flexible payment options for vendors.
Server Requirements
The first step in setting up your WC Vendors Marketplace is to install WordPress and the WooCommerce plugin. However, before proceeding, it’s important to review your hosting environment. If the requirements aren’t met, it could negatively impact your site’s security and performance. Our plugin is also compatible with the majority of WordPress themes. By default, the styling of our plugin will match your theme. As a guideline, we recommend:
- WordPress version 5.3 or greater.
- PHP version 7.4 or greater.
- MySQL version 5.67 or greater OR MariaDB version 10.4 or greater.
- WooCommerce 5.0 or greater.
Installation
Now that’s done, you can then proceed with installing WC Vendors. Simply search for our plugin in Plugins > Add new and install and activate:
When you first activate the plugin, you’ll have the option to use our setup wizard for a more streamlined installation process. For this guide, we’ll follow the wizard
Start of the Setup Wizard
This is how it should appear on your end. Now, simply select the appropriate settings and enter the commission percentage %. Further details on the function of each setting are provided below the image.
Allow users to apply to become vendors
This means that anyone on your website can apply to become a vendor. Vendors will be able to create an account through WooCommerce’s default “My Account” registration page.

Manually approve vendor’s applications
Vendors are required to receive approval from an administrator before they can log in or list products.
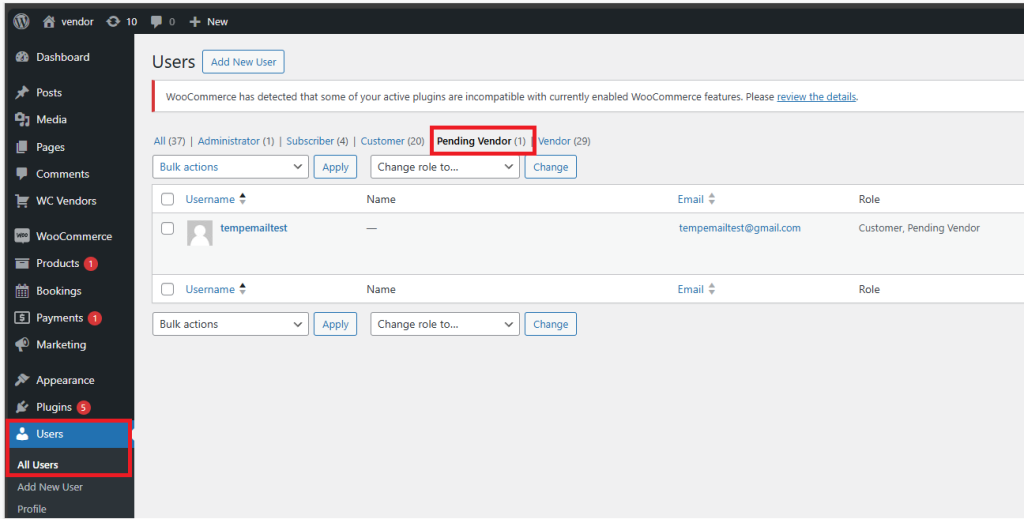
Before approving them, your vendors will be assigned a Pending Vendor role. You can approve them in Users > All Users > Pending Vendors.

Give any taxes to vendors
If your marketplace site collects taxes, the tax amount will be given to the vendor based on your rates and will only apply to the vendors’ products.
You can learn more about WooCommerce’s tax here: Setting up Taxes in WooCommerce Documentation – WooCommerce
Give any shipping to vendors
Same rule as the taxes, but applies to shipping. If your marketplace site includes shipping, the relevant shipping fee will be given to the vendor.
You can learn more about vendor shipping setup’s here: Shipping Settings Overview – WC Vendors
Commission
The commission is calculated per product, based on the vendor’s rate. For example, if you set it as 80%, the vendor will receive 80% and the marketplace will take 20%.
Capabilities
Products
Allow vendors to add/edit products
This means you’d give the vendor the ability to add new products or edit products on their vendor account or dashboard.
Allow vendors to add/edit published(live) products
This means that the vendor can only edit or add products that are already published under his account
If this option is disabled, the vendor will have to create a new product if they want to make changes.
Allow vendors to publish products without requiring approval.
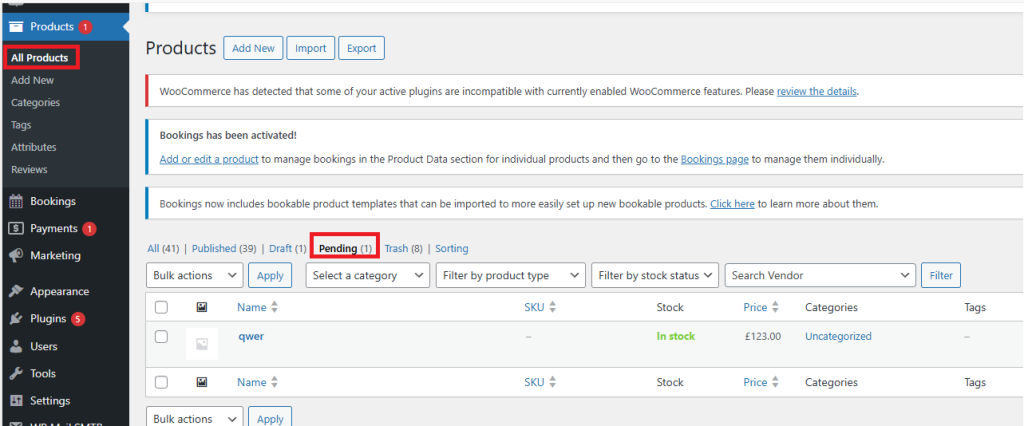
This means that before any changes are made to a product or a new product is added by the vendor, an admin must approve it first. You can easily find pending products under Products > All Products > Pending.
As the marketplace admin, you will need to edit and manually publish/update the product.
Orders
Allow vendors to view orders
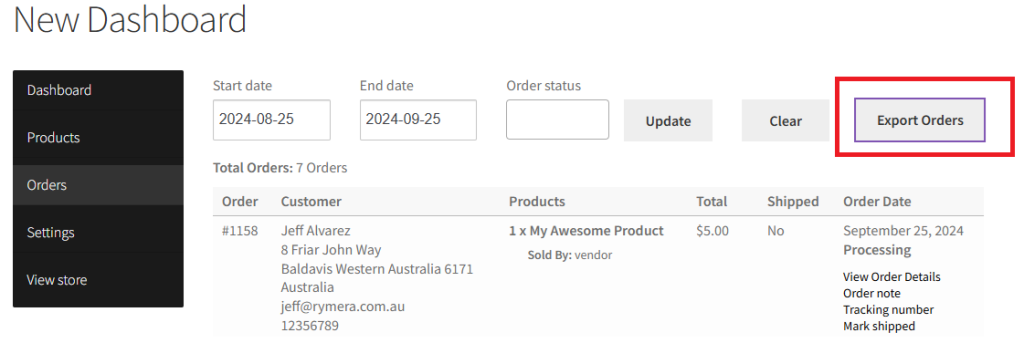
Ability to view the order on the Vendor’s dashboard:
Here the vendor can view the order, and order notes, set a shipping tracking number, and mark the product as ship


Allow vendors to export their orders to a CSV file
An “Export Orders” button allows your Vendors to export all orders within a specified start and end date range.
Allow vendors to view order notes & Allow vendors to add order notes
When viewing the specific order the vendor will be allowed to add comments and view the comments
Pages
It’s best to leave the pages as they are since they are required, but you can also add your own pages and insert the shortcode. If you have a terms and conditions page/section, make sure to link it as well.
Your multi-vendor website is now set up. Take your time to explore our plugin or refer to our knowledge base for more details.


