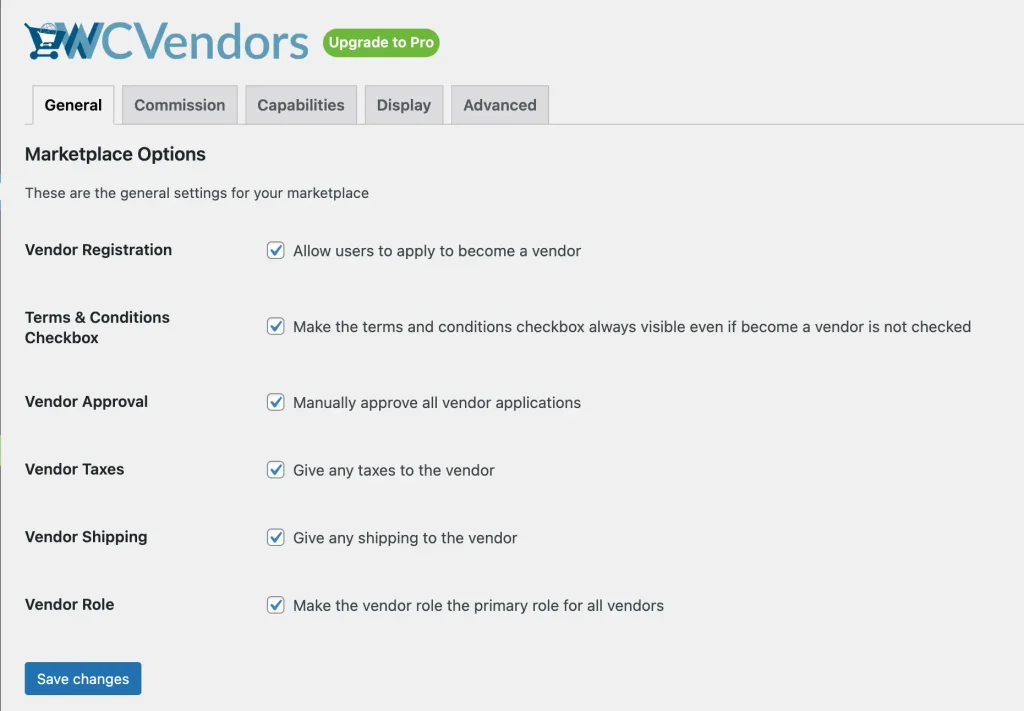
The first thing we’ll do now is set up the General Settings for your marketplace. From your admin screen, hover over the “WC Vendors” submenu and click “Settings”.
There are six general marketplace options available:
- Vendor Registration
- Terms & Conditions Checkbox
- Vendor Approval
- Vendor Taxes
- Vendor Shipping
- Vendor Role
Let’s go through each one of them!
1. Vendor Registration
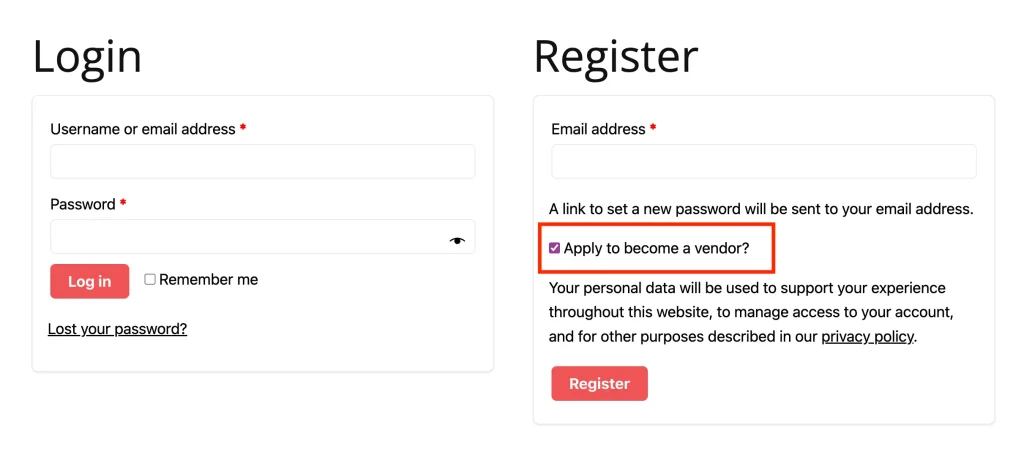
When you enable this feature, guests or visitors can apply to become a vendor when they register via the “My Account” page.
Meanwhile, logged-in users can also apply as vendors when they visit the Vendor Dashboard page.
2. Terms & Conditions Checkbox

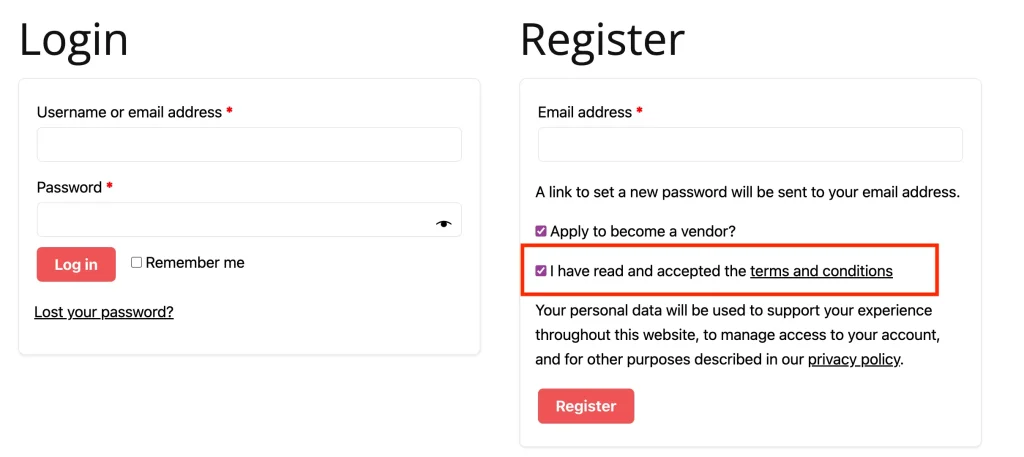
For more explicit consent on the terms and conditions of your marketplace, you can enable this option to show a checkbox that users must mark as checked before submitting their registration.
Please make sure to select the page for your terms and conditions, otherwise the checkbox won’t be displayed. You can do it from WC Vendors > Settings > Display.
3. Vendor Approval
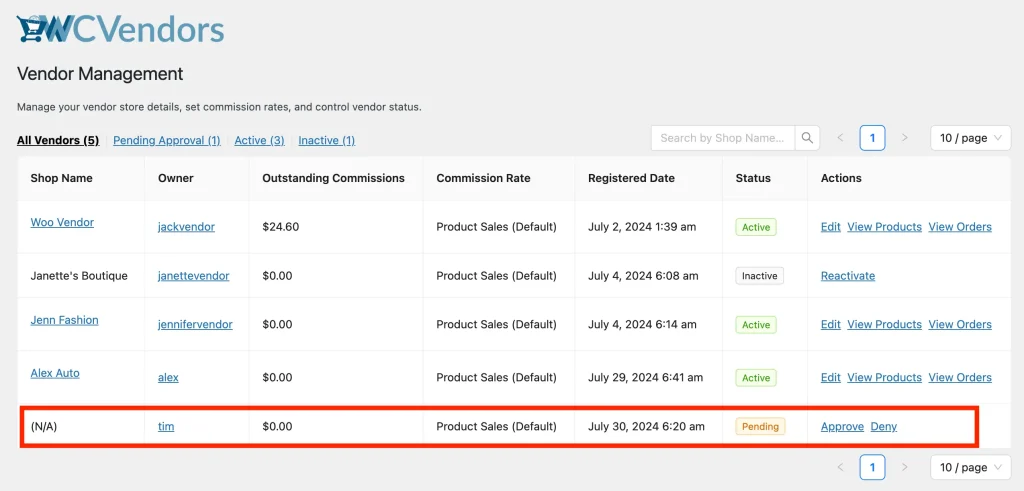
The vendor application is automatically approved by default. However, you can manually approve the application by enabling this option. If you go to WC Vendors > All Vendors, you’ll see the list of all vendors and see who has pending approval.
Click their username to view their profile and if it’s all good click “Approve” from the “Actions” column on the All Vendors page. If you don’t want to approve them then click “Deny”.
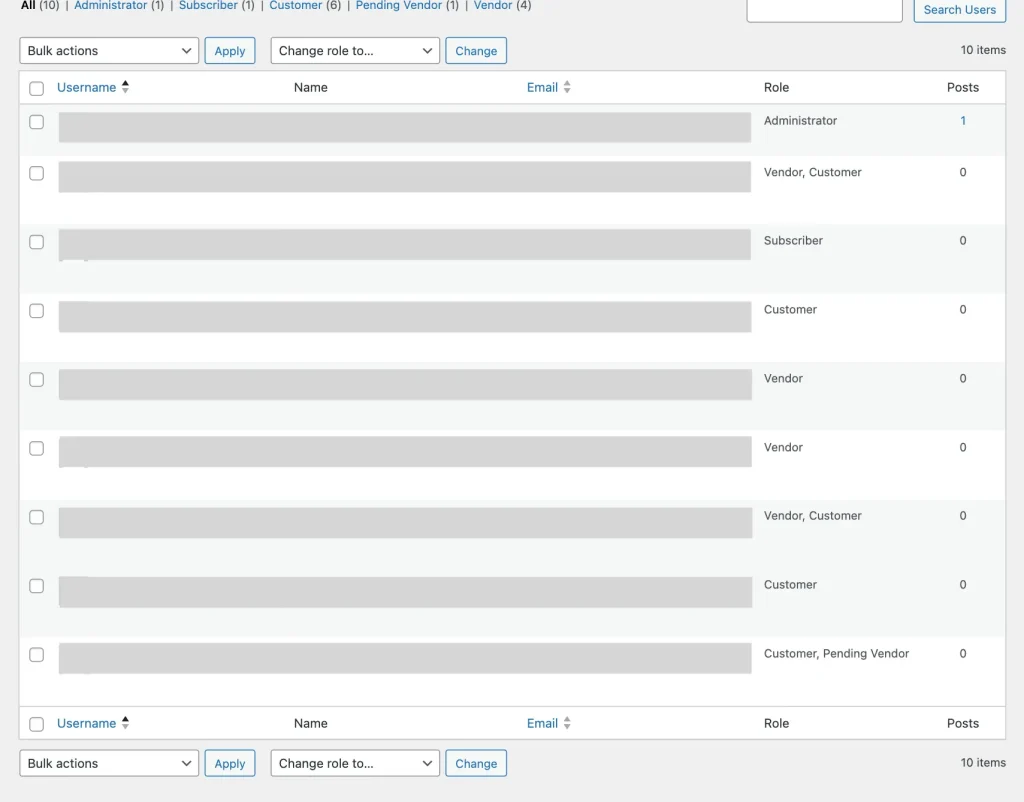
While they wait for your approval, they’re assigned to two user roles i.e. a “Customer” and a “Pending Vendor”.
If you approve them, their “Customer” role and “Pending Vendor” role will be removed and they’ll get assigned to the “Vendor” role allowing them to set up their store immediately.
If they’re denied, their “Pending Vendor” role will be removed and they’ll remain as a “Customer”. They can apply again to become a vendor from the “Vendor Dashboard” page.
Vendor applicants will also get notified via email whether they’re approved or denied. Please read this article to learn more about email notification for vendor applications.
4. Vendor Taxes
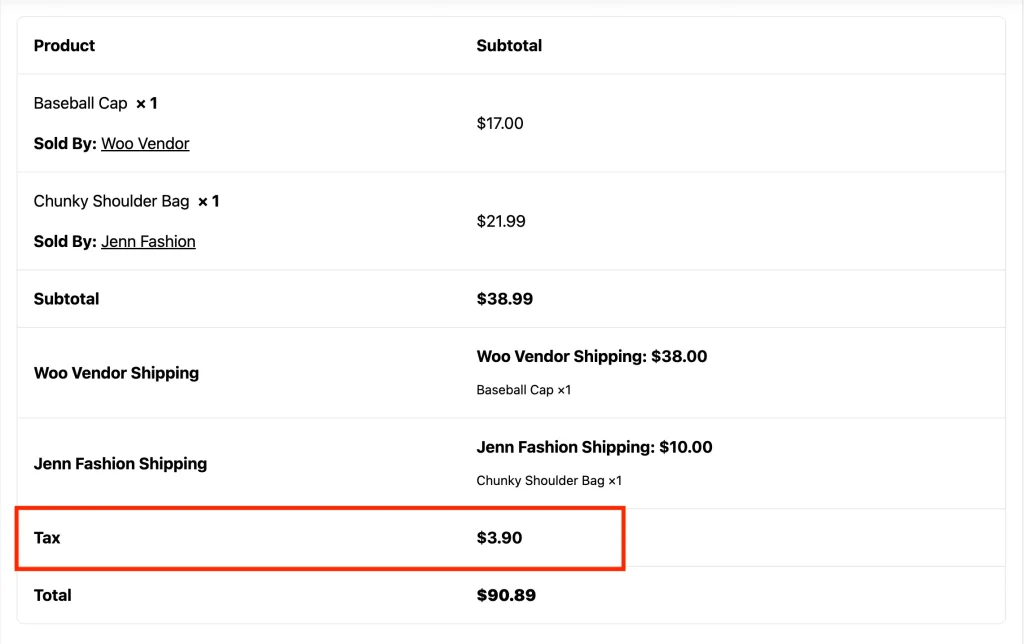
Enable this option if you wish to charge taxes on products sold by vendors. Make sure to set up your taxes via WooCommerce > Settings > Taxes.
5. Vendor Shipping
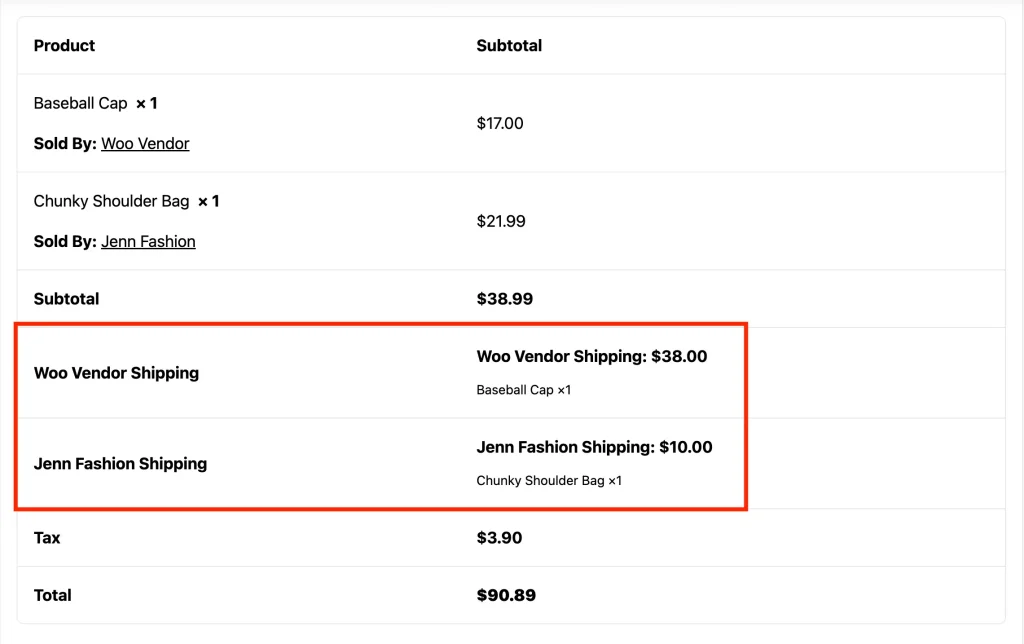
This option allows you to charge shipping fees on products sold by vendors. When it’s enabled, customers will be able to choose which shipping method they want to use. You can set up your shipping via WooCommerce > Settings > Shipping.
Psst, do you know that you can allow vendors to set up their own shipping? Grab the WC Vendors Pro to unlock this feature and so much more!
6. Vendor Role
Vendors may have multiple user roles in certain circumstances. Using this option, we’ll make their primary role as a “Vendor”.
