WC Vendors Pro is the premium version of the WC Vendors plugin, offering advanced features and enhanced functionality for building a fully-featured multi-vendor marketplace on WordPress. While the free version of WC Vendors provides essential tools to create a marketplace, WC Vendors Pro unlocks more sophisticated features that allow vendors and marketplace owners to manage their stores with greater flexibility and control.
Here are some key features of WC Vendors:
- Product Management: Vendors can create and manage all WooCommerce product types, including physical, digital, variable, grouped products, subscriptions, membership, bookings, and auctions, with more control over inventory, pricing, and options. Please note that for subscription, membership, bookings, and auction products, the corresponding WooCommerce plugins are required.
- Shipping and Tax Management: Vendors can configure their own shipping rates and tax settings, giving them greater autonomy over their store’s logistics.
- Commission System: WC Vendors Pro allows marketplace owners to set up advanced commission structures. You can set percentage, fixed fee, or tiered commissions, giving more flexibility in how vendors are paid.
- Coupons: Vendors can create and manage their own discount coupons, allowing them to run promotions and offer discounts directly to customers.
- Vendor Store Branding: Vendors can customize their storefronts with logos, banners, and descriptions, enhancing the visual appeal and individuality of each store within the marketplace.
- Reviews and Ratings: Vendors can manage product reviews and ratings directly, helping to build trust and credibility within the marketplace.
- Vendor-Only Features: Access to additional features like detailed reports, earnings history, and order status tracking from the vendor dashboard.
- Customizable Templates: WC Vendors Pro allows full control over the design and layout of vendor pages, product listings, and more, with customizable templates.
Server Requirements
WC Vendors Pro is an advanced extension that builds on the features of the WC Vendors Marketplace free plugin. To utilize the full functionality of WC Vendors Pro, you must have both the WC Vendors Marketplace free plugin and WC Vendors Pro installed and activated on your WordPress site.
Before installing WC Vendors Pro, you will need to set up the basics. If you have already done so, proceed with the guide. If not, read here: WC Vendors Marketplace (Free Plugin) Getting Started Guide
Installation
Before we continue, get a copy of the latest version of the WC Vendors Pro plugin which you can download on our website: My Account – WC Vendors.
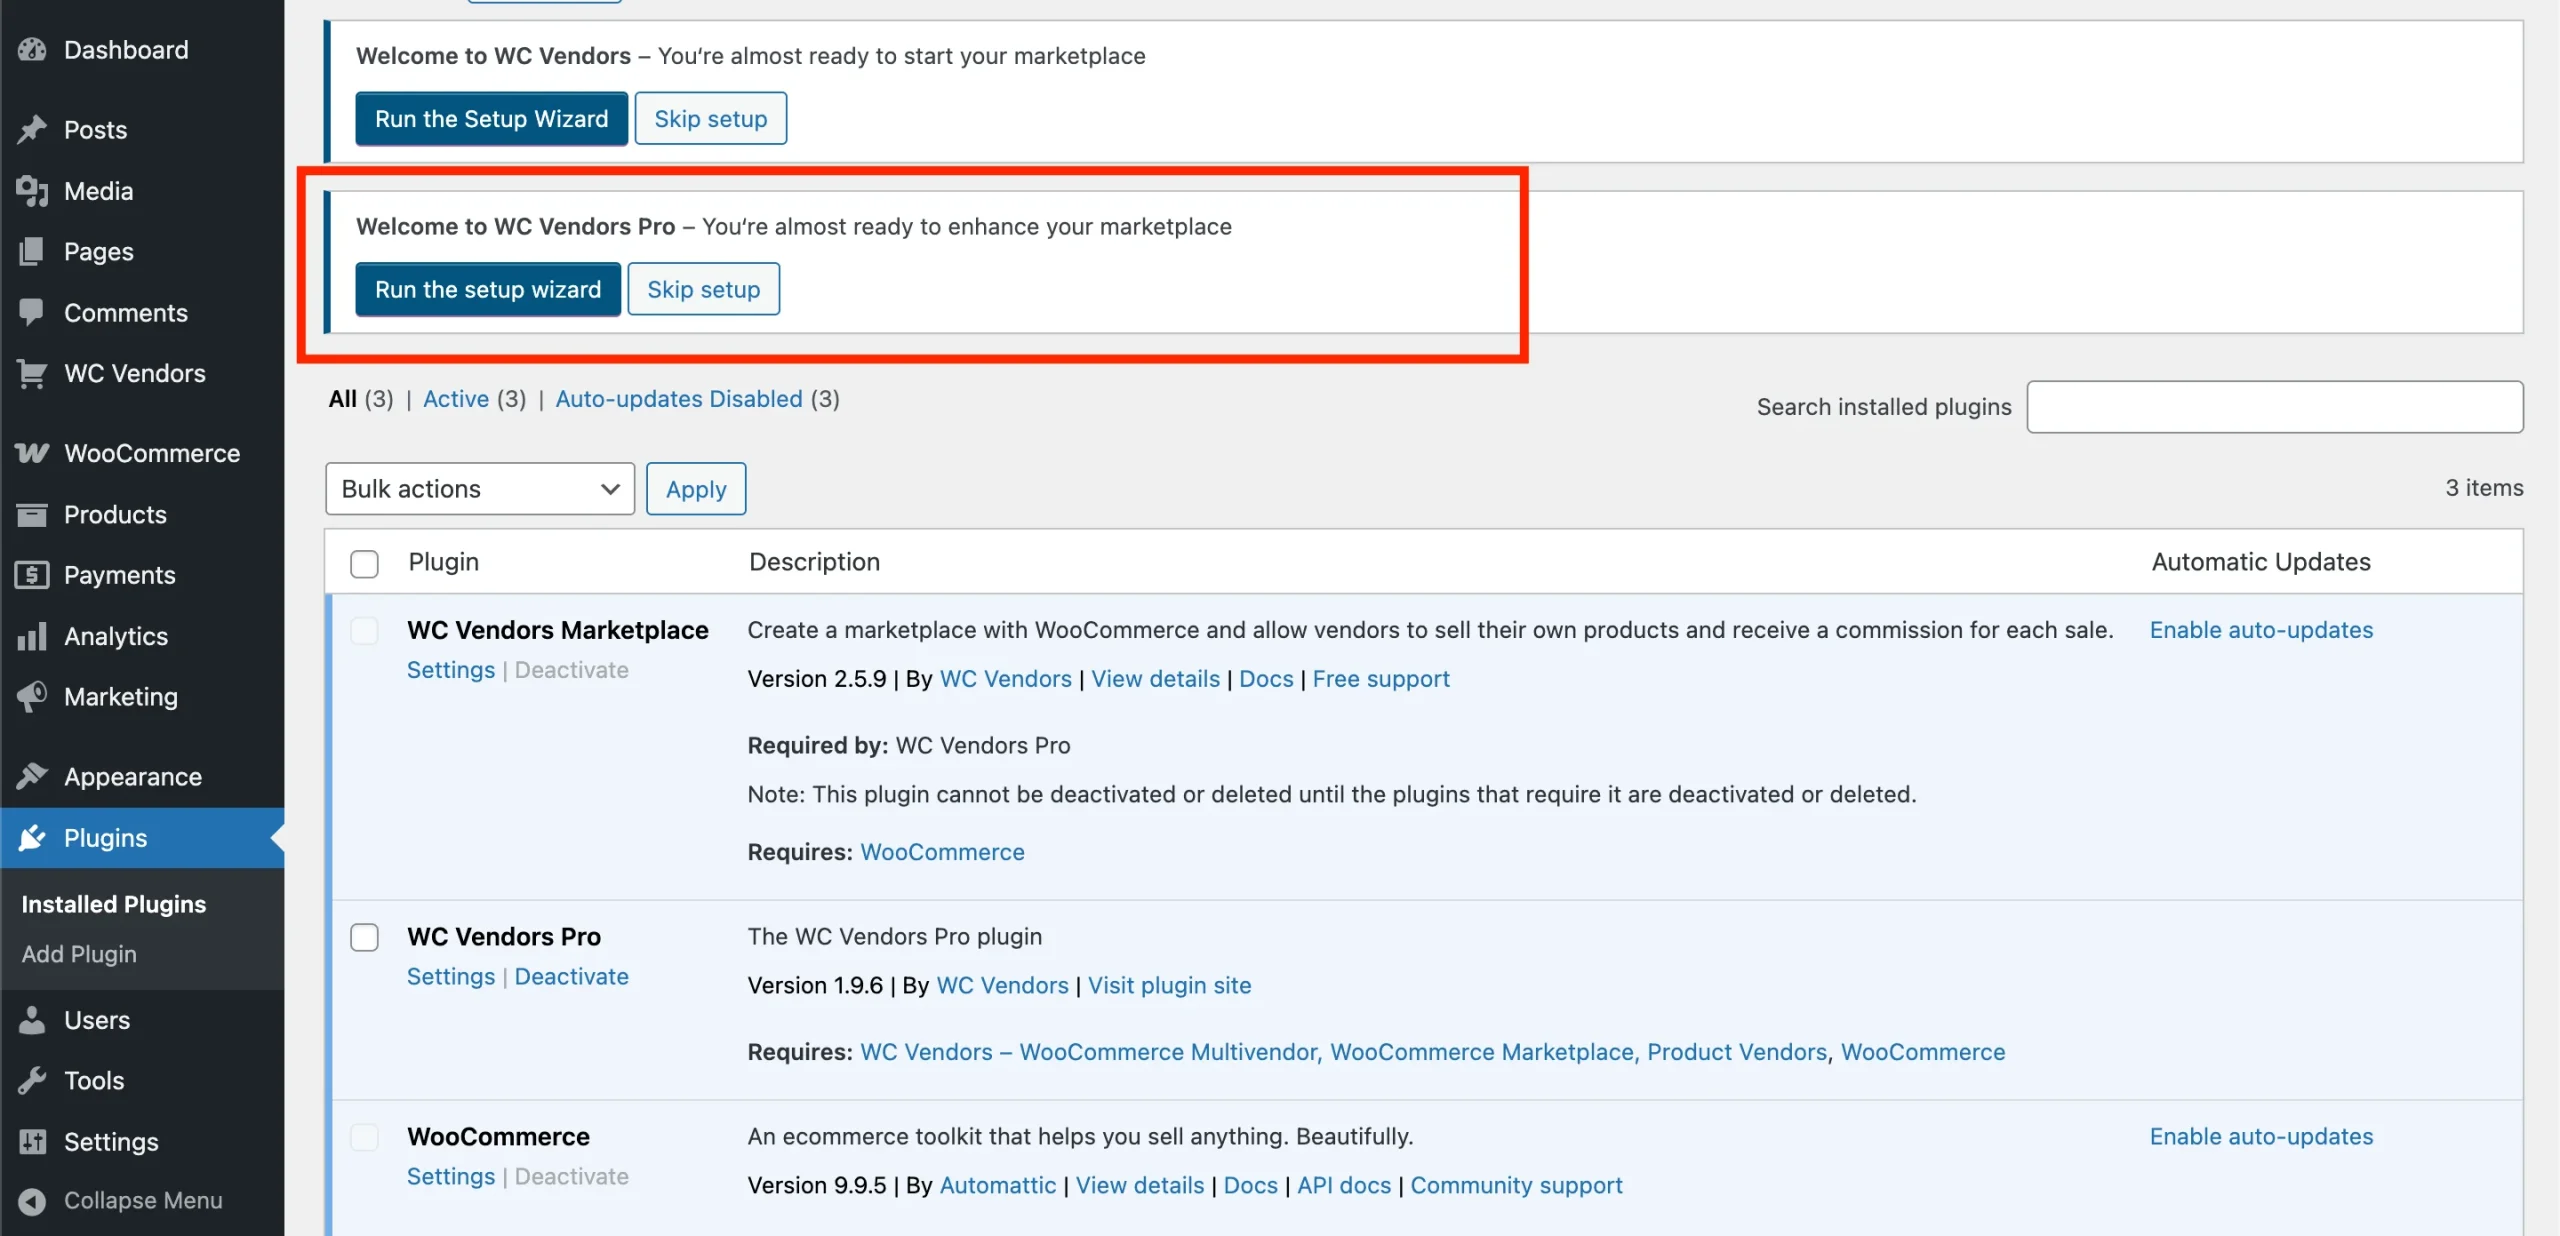
For this guide, we’ll also follow the setup wizard. There will be a notification bar when you first activate the WC Vendors Pro plugin. Click the “Run the setup wizard” button.
1. Get Started
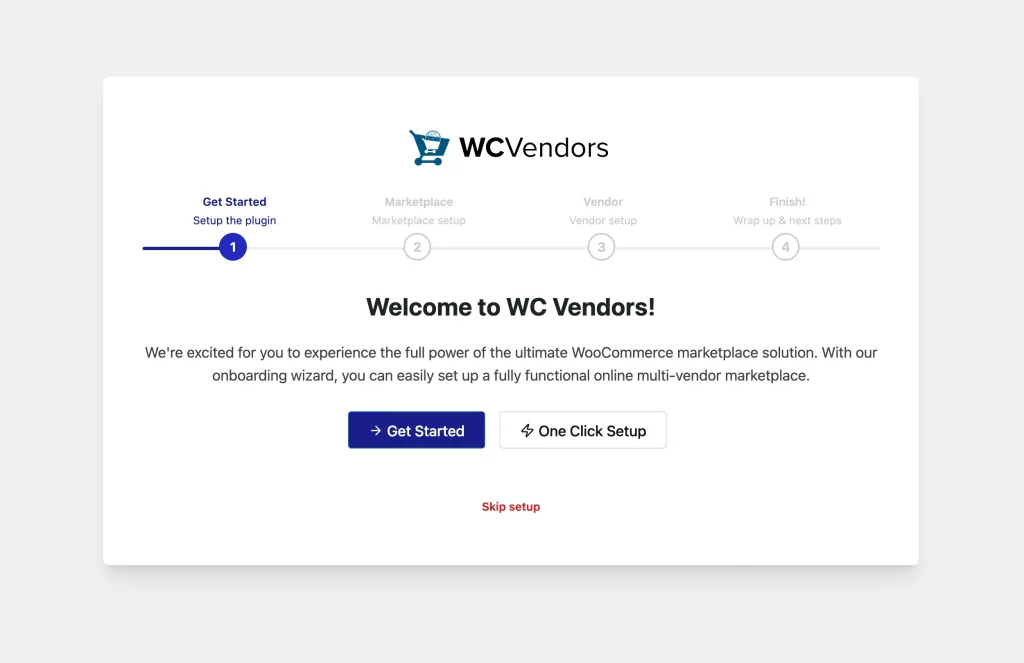
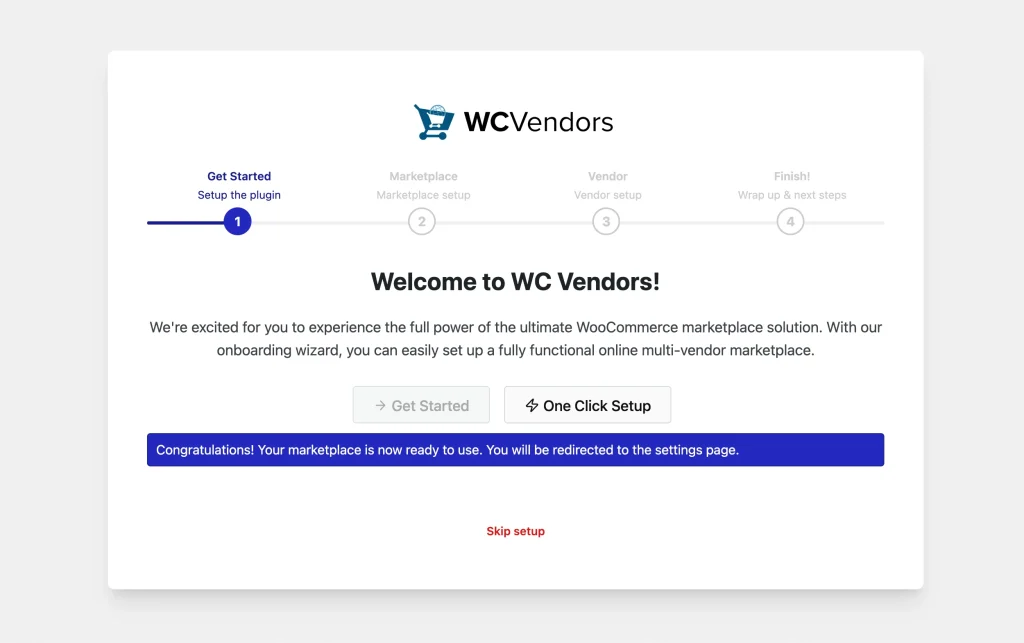
To streamline your setup process, use the “Get Started” button to follow the standard setup wizard or the “One Click Setup” button that applies recommended settings for a quick and hassle-free setup.
Alternatively, you may choose “Skip Setup” if you’d prefer to configure everything manually.
2. Marketplace
This step allows you to define how your marketplace will operate.
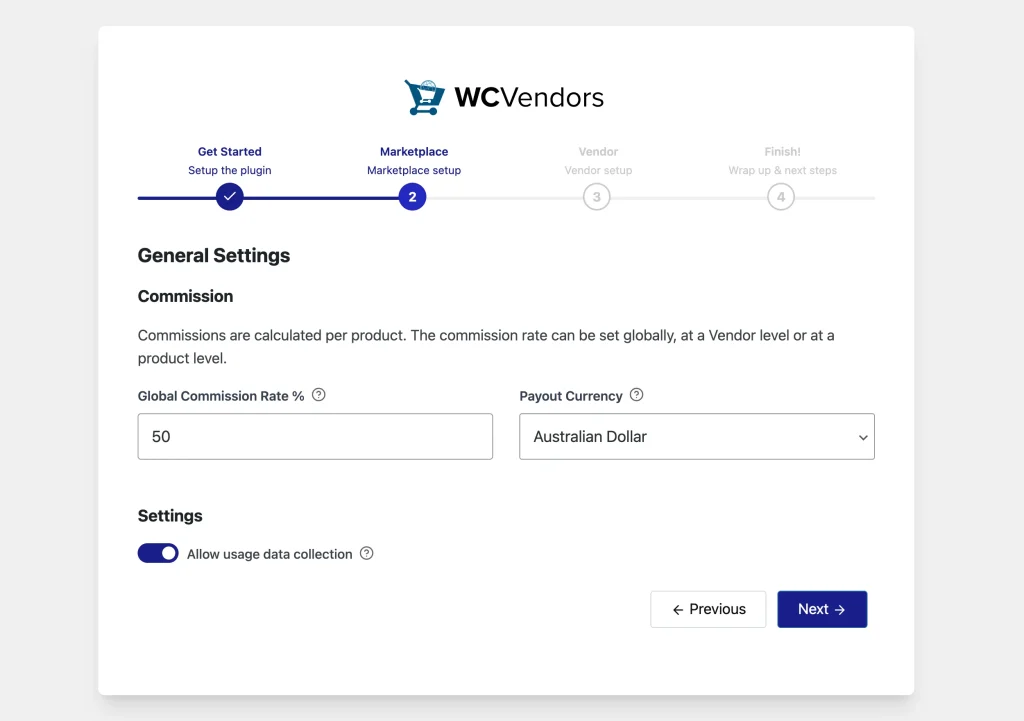
General Settings:
Commissions:
Commissions are calculated per product. You can set the commission rate globally, per vendor, or per product. This gives you full control over how earnings are distributed.
Please note that the set fees are what the vendor earns. This means if you’ve set it to 90%, the vendor makes 90% of the sale, and you receive 10%.
For a detailed explanation, see our article: How Commissions Work for WC Vendors
- Global Commission Rate % = Enter your preferred rate
- Payout Currency = Choose the currency used to pay vendors
Settings:
- Allow usage data collection
Enabling this helps us improve the product based on anonymous usage insights.
3. Vendor
Here you can configure how vendors interact with your marketplace.
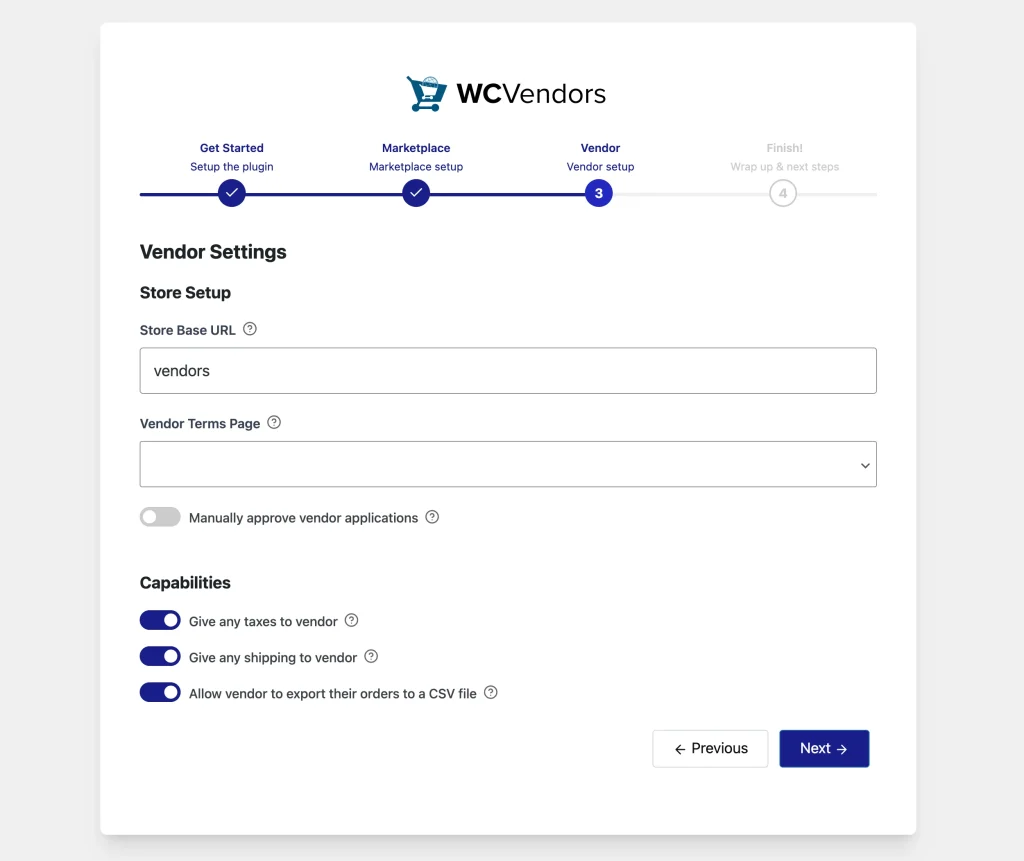
Vendor Settings
- Store Setup
- Store Base URL = This defines the URL structure for vendor stores
- Vendor Terms Page = Select a page with your terms and conditions
- Manually approve vendor applications? = Enable or disable based on your preference
Capabilities
- Give any taxes to vendor: Enable this to give product taxes to the vendor on top of the product sales commission
- Give any shipping to vendor: This option will allow vendor to retain the shipping fees from their orders
- Allow vendor to export their orders to a CSV file: Enable vendors to manage order data offline via CSV
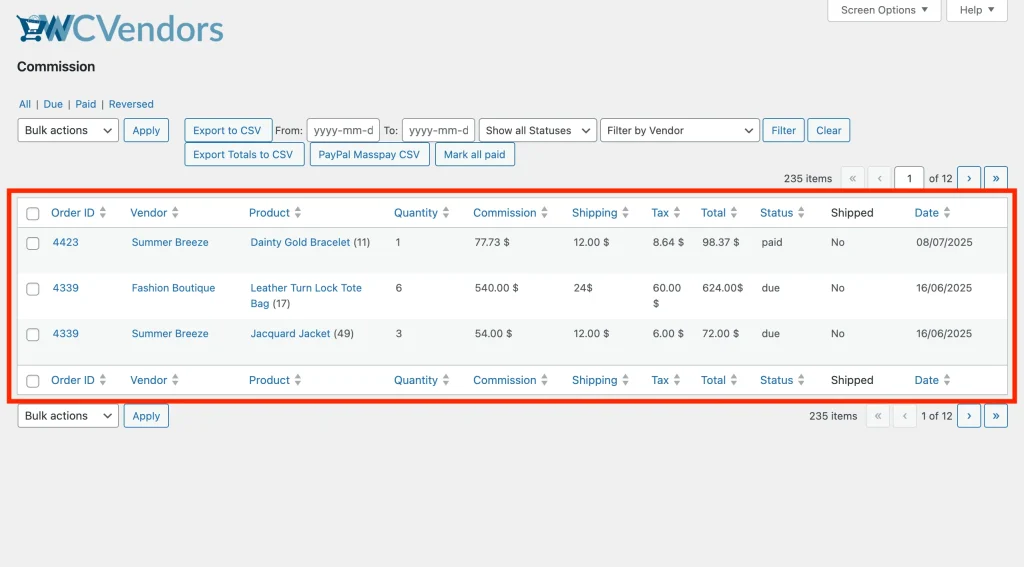
If you’d like to configure what vendors are allowed to do (such as managing products, orders, or shipping), you can do this from WC Vendors > Settings > Capabilities. For more details, please refer to our Vendor Capabilities Overview article.
4. Finish!
🎉 Your marketplace is ready!
You can now begin adding products and inviting vendors.
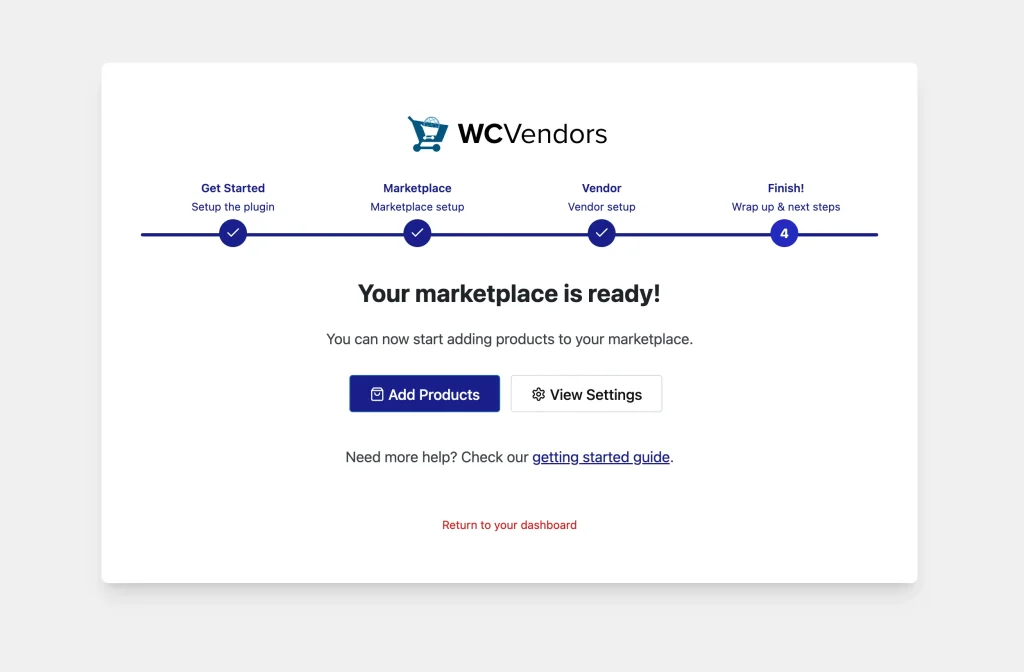
- Add Products = Start uploading items to your marketplace
- View Settings = Review and fine-tune your setup
For more tips, best practices, and in-depth tutorials, be sure to explore our Knowledge Base or reach out to our support. Here’s to building a thriving multi-vendor marketplace!
